

By Claudia Ostrop
The First Step to Perfectly Fitting Knitted Garments
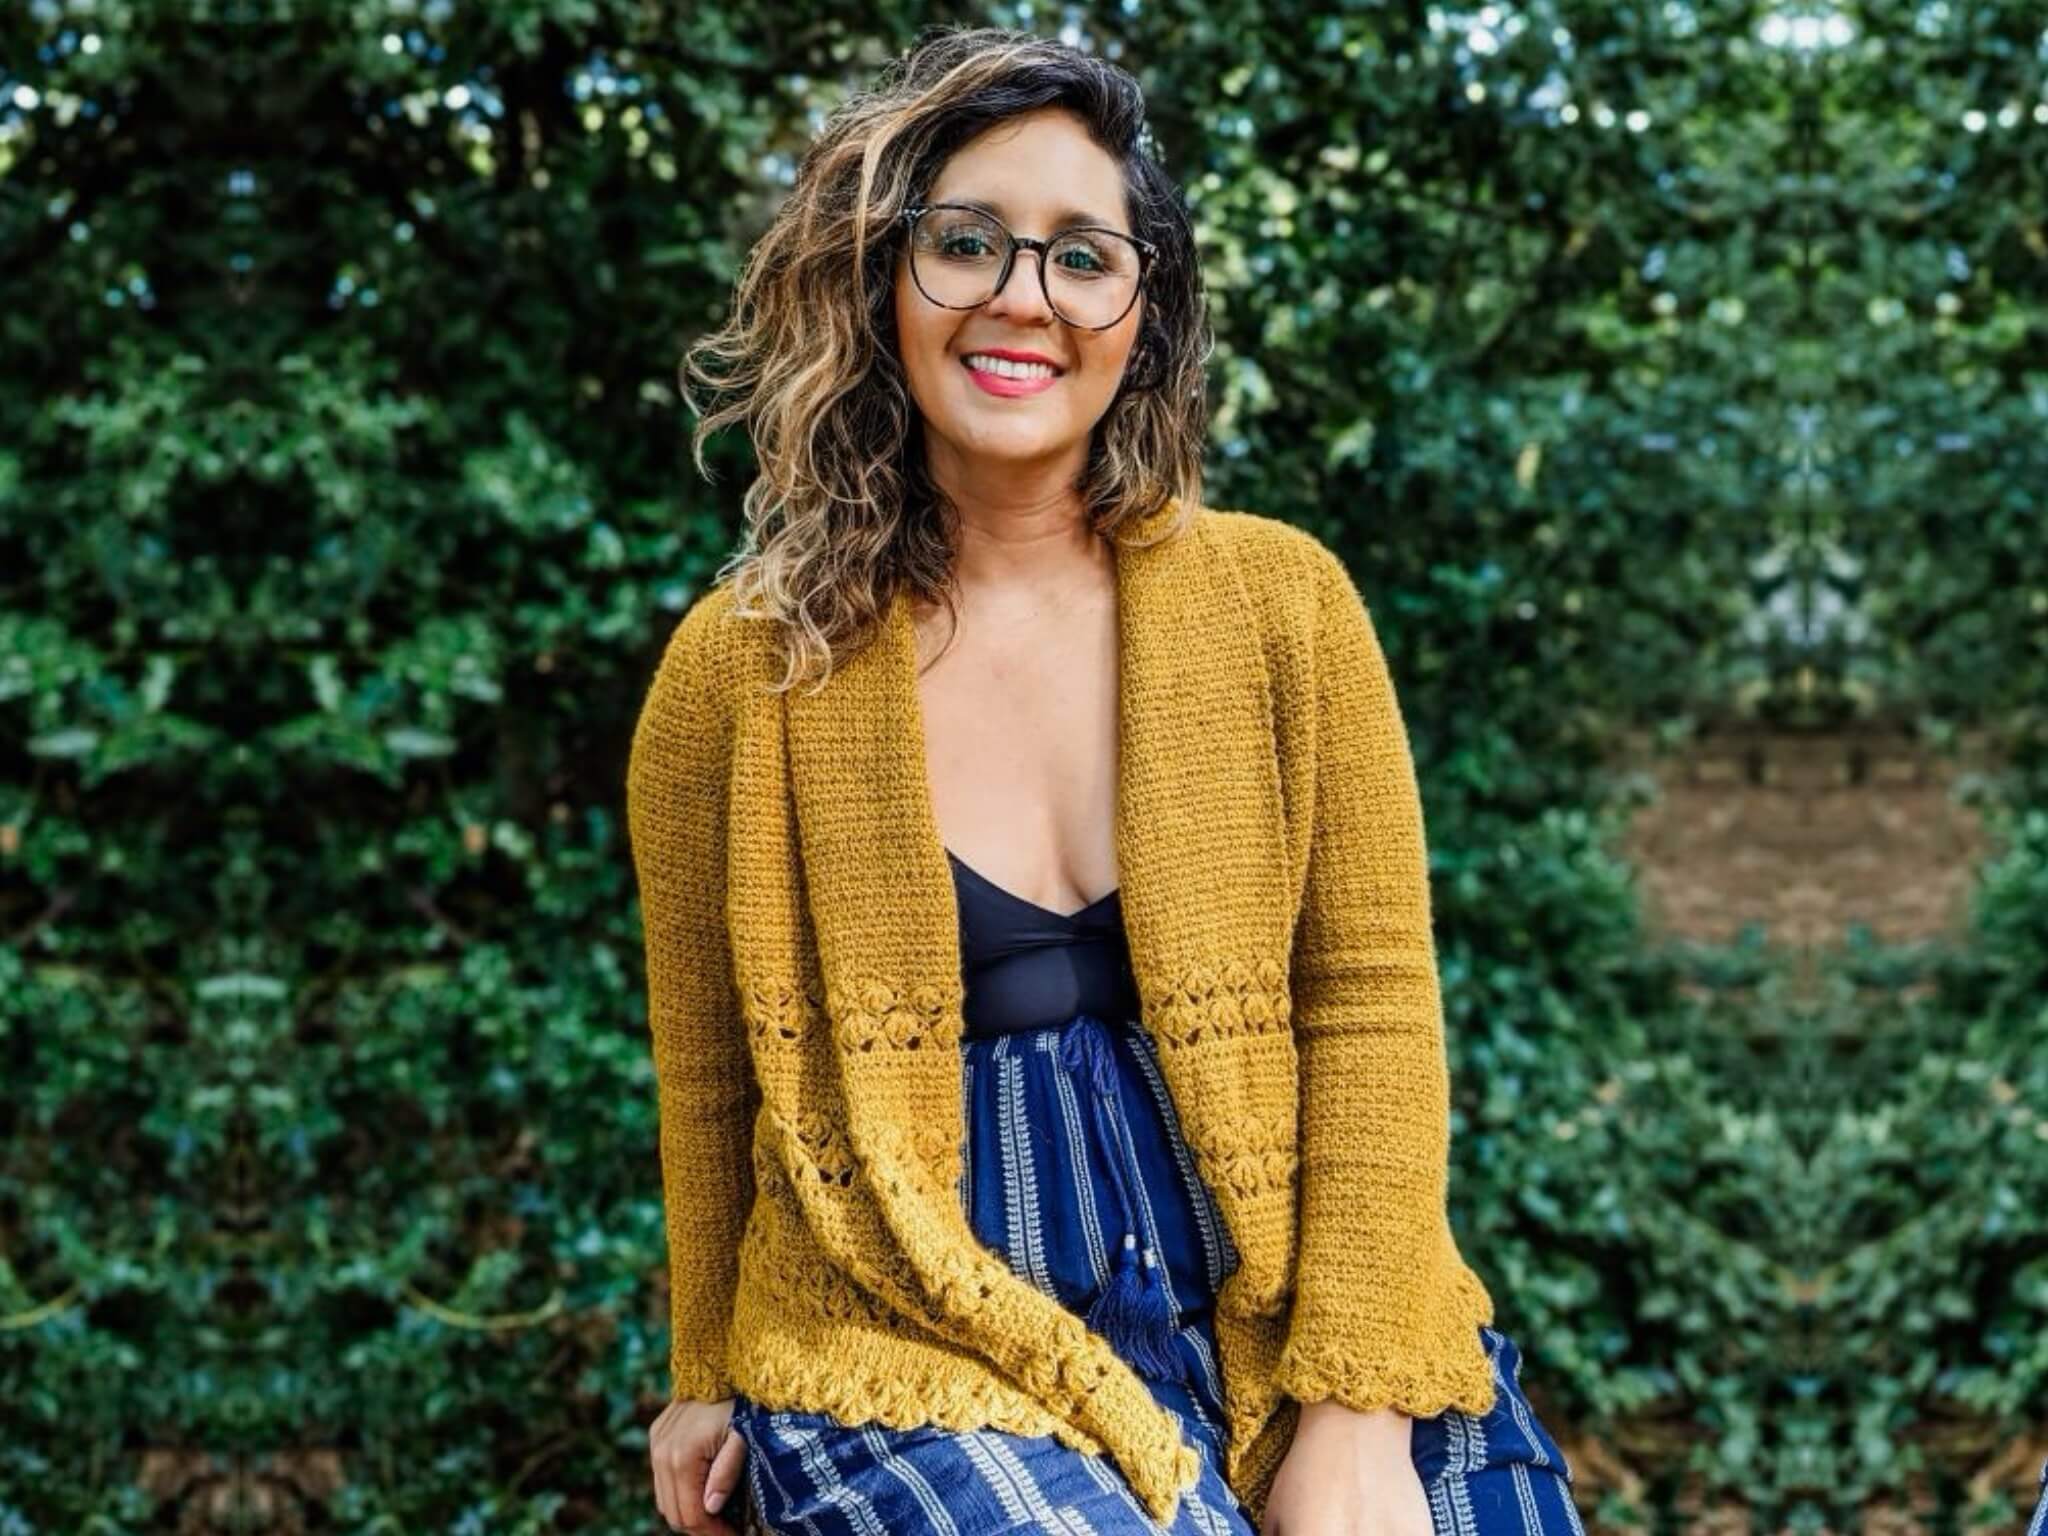
You’ve discovered a gorgeous pattern for a sweater or a stylish cardigan, and you have the right yarn and needles ready. Everything seems set for your new dream piece in your wardrobe!
Or is it?
Here’s the not-so-great news first: rare are the cases where a knitter’s body measurements align with those specified in a pattern. Now for the good news: with a bit of know-how, you can take any good pattern and adapt it into the perfect one for you. All you need is to know your own measurements accurately!
In this blog post, we will cover the essential measurements you’ll need and the best way to determine them. Later, we’ll also address how to adjust patterns for varying body measurements.

Why Accurate Body Measurements Matter
Standard clothing sizes—whether for ready-made garments or knitting and sewing patterns—can only serve as a general guide. Even if you typically fit well into a size L or M, there’s always a chance you might need to go up (or down) a size. Different designers and manufacturers have varying size standards, and then there are your unique proportions to consider.
Ideal Measurements or Individual Measurements?
Just as no two eggs are alike, no two bodies are the same.
The same applies to proportions: narrow shoulders might accompany a fuller bust, or a long torso could feature shorter arms. Shoulders can be broad while hips are narrow; the combinations are endless! In many knitting patterns for tops, the bust measurement is often the most critical. While it’s entirely reasonable to use this as your starting point, depending on your proportions, it’s worth checking for any additional measurements listed in the pattern.
To ensure these measurements are useful for you, you'll need to take accurate measurements of your own body!

Taking Body Measurements for the Perfect Fit of Your Garment
You could try measuring yourself alone, but let’s be honest: while this might work for the bust and hips, it becomes tricky when measuring shoulder width.
If you don’t have a partner to help, consider teaming up with a knitting friend for this “measuring project.” Not only is it more enjoyable, but it’s a win-win situation, making the experience much more fun than trying to wrangle a measuring tape solo in front of the mirror.
To measure your body, you’ll need a flexible measuring tape, paper, and a pen. Ideally, wear only your underwear, as additional clothing can distort your measurements. And then you're ready to get started!

Measuring the Bust
Stand up straight and relaxed with your arms hanging loosely by your sides. If you typically wear a bra, it’s best to wear it while measuring, as it affects the shape and position of your bust.
Wrap the measuring tape around the fullest part of your bust, ensuring it runs smoothly around your back and remains parallel to the floor. Don’t pull it too tight; it should be snug enough to stay in place.
If you have a fuller bust, also measure above the bust line, just under your armpits. This gives you the upper bust measurement. Follow the same guidelines as before: run the measuring tape horizontally and snugly, but not overly tight.
To measure bust depth, take the measuring tape from the side of your neck down to your nipple, standing upright to ensure accuracy!
If you’re measuring alone, stand in front of a mirror to ensure the measuring tape is positioned correctly.

Measuring Shoulder Width
Stand up straight and relaxed. Your helper should locate your shoulder points, which are above the shoulder blades: where the shoulder meets the arm and begins to curve. The measuring tape is then run from one shoulder point to the other across your back, following the natural curve.
If you don’t have someone to assist, take a well-fitted shirt with sleeves and measure the width from shoulder to shoulder above the shoulder blades.

Measuring the Back
Stand straight and relaxed. The measuring tape is taken from the top cervical vertebra down to your waist. If you slightly lower your head forward, this will help you easily see or feel the prominent vertebra.
If you’re doing it on your own, you can use a T-shirt or undershirt to mark the waist position with a safety pin, then measure from the back neckline to the mark after removing the shirt.

Measuring the Arms
To determine the upper arm circumference, raise your arm slightly to the side – the measuring tape is wrapped around the widest part of the upper arm.
Measure your wrist using the same technique.
For the (inner) arm length, keep your arm straight and measure from your armpit down to your wrist.
To find the outer arm length, measure from the shoulder to the wrist along the outside of the arm.

Measuring the Hip Width
To determine the hip circumference, wrap the measuring tape around the widest part of the hips. Just like with the bust measurement, make sure the tape is straight and parallel to the floor. Don’t pull it too tight, but also don’t let it hang loose. Keep your feet together during while measuring.

Measuring the Neck
To measure the neck width, drape the measuring tape loosely around your neck, allowing the ends to hang in front. Using a second measuring tape or a ruler, measure the distance between the two ends of the first measuring tape.
For the front neck depth, keep the tape in the same position. Hold a ruler straight across your collarbones. You can determine the front depth of the neck by reading the centimeters on the measuring tape from the shoulder down to the ruler.

Measuring the Waist
Stand upright—and please don’t suck in your stomach 😉 or tense your muscles. We want accurate results!
Wrap the measuring tape around the narrowest part of your waist, which is usually right above your navel. Again, the tape should be snug but not too tight.
Tip: If you’re not sure where your natural waist is, bend slightly to the side. The point where your body forms a crease is your waistline.
Final Tips for Accurate Measurements
Measure TwiceIt’s always better to be safe: it’s advisable to take each measurement at least twice to ensure accuracy. If the two measurements differ significantly, take a third measurement to determine the correct size.
Your body posture is crucial when taking measurements! Avoid standing stiffly or sucking in your stomach, as this can lead to inaccurate results. Try to be in your natural, relaxed posture while being measured, even if it feels a bit odd at first.
When measuring, it’s best to wear only underwear or very thin, snug-fitting clothing. Baggy clothes can add extra centimeters to your measurements and distort the results, making them less useful.

Final Thoughts
You don’t necessarily need to know every single measurement listed above, but if you’re already measuring, it doesn’t hurt to take the tape once more.
If you keep a record of your measurements somewhere—maybe in a knitting notebook?—you’ll always know where to look later.
In a few weeks, we’ll discuss how to utilize your measurements in practice. Stay tuned, and have fun with your “measuring work”!
3 comments
Graciela
Qué buen artículo! Muy preciso, detallado y útil para acertar con las medidas de una prenda tejida. Espero expectante el próximo para completar la información.
Qué buen artículo! Muy preciso, detallado y útil para acertar con las medidas de una prenda tejida. Espero expectante el próximo para completar la información.
Andrea Aljets-Aust
Das ist ein sehr guter Artikel zum Thema Maßnehmen. Die Schemazeichnungen sind dabei sehr hilfreich. Wie schade nur, dass es immer noch viele Designs gibt, bei denen einige dieser Angaben fehlen.
Das ist ein sehr guter Artikel zum Thema Maßnehmen. Die Schemazeichnungen sind dabei sehr hilfreich. Wie schade nur, dass es immer noch viele Designs gibt, bei denen einige dieser Angaben fehlen.
Krey-Buntenbach Kirsten
Wunderbar, endlich wird das Thema der unterschiedlichen Proportionen angesprochen. Ich stricke wahnsinnig gern, liebe Eure Wolle, aber sobald ich etwas für mich stricke bin ich am Ende enttäuscht. Ich freue mich auf Eure Anleitung um genau das zu verhindern.
Wunderbar, endlich wird das Thema der unterschiedlichen Proportionen angesprochen. Ich stricke wahnsinnig gern, liebe Eure Wolle, aber sobald ich etwas für mich stricke bin ich am Ende enttäuscht. Ich freue mich auf Eure Anleitung um genau das zu verhindern.